Saturday, December 13, 2014

Chinese Dragons

This was our second Asian inspired art lesson. To begin with, we talked about the differences between Chinese Dragons and western dragons.  Chinese dragons are a symbol of strength, importance, and power while western dragons often symbolize negative forces.  Western dragons typically have wings, while Chinese  dragons do not.

I gave the students several "how to draw a dragon" handouts with varying levels of difficulty.  Of course, these we just to get them started and I encouraged them to add their own creative details.  

Many students were intimidated by this project at the beginning and though drawing a dragon was too difficult. However, once they got started ( with some gentle nudging) they realized that it was not as hard as they thought. 

This was our last project before winter break and many of the dragons are incomplete.  Hopefully, students will find some motivation to finish them when we get back...

These were drawn with sharpie and colored with watercolor.  Chalk Pastel was suggested for the background (this got a little messy!)


Friday, December 5, 2014

Tie Died Chinese Banners

The pictures do not do these banners justice! Each and every one of my 150+ students created a wonderful piece of art.  I plan to hang as many as possible from the ceiling of our classroom (when I can find the time!). Of all the projects we have done so far, the students as a whole took a lot of pride in these works.

This was a lesson in Chinese Caligraphy.  Again, another power point to provide background information. We discusesed the differences between English writing and Chinese writing. We also watched a YouTube video and students were able to see esteemed calligraphers in action.

I translated all of the students names into Chinese using an online name generator. They were all quite thrilled to see their names in Chinese.  I also provided an additional handout with other Chinese characters and their meanings.  Some students chose to draw these.  Once they practiced a little in their sketch books, they were given a piece of 9"x24" dippity dye paper and some India ink to paint their characters.  They let these dry for a day and then they sprayed them with liquid watercolor.  I provided primary colors.  The final step was adding the black construction paper (3.5"x12 folded in half lengthwise and string)

Students definetly gained an appreciation for Asian Art!


Wednesday, November 26, 2014

African Mask Design

This is another lesson from Denise Logan's book.  The students really enjoyed this one.  I had difficulty choosing projects for display because almost all of them were spectacular.  This was a mixed media project (our vocabulary word for the week).  Students used markers, tissue paper, watercolor, and stamps.  Some even added fringe.

I showed the students a power point to provide some basic information about African masks and what they were used for.  I also showed a ten minute YouTube video to expose them to the different styles from various regions of Africa.  The video had a catchy Damian Marley song in the background which really helped to capture and hold the attention of the students.

I provided a few handouts to spark mask ideas and several students did their own research on their phone.  The creative juices are really starting to flow!

For the stamp, students were given a handout with many different symbols from Ghana.  Each of the symbols has a meaning.  They pressed the design into a piece of print foam which was glued to a block of wood with a hot glue gun.


Saturday, November 15, 2014

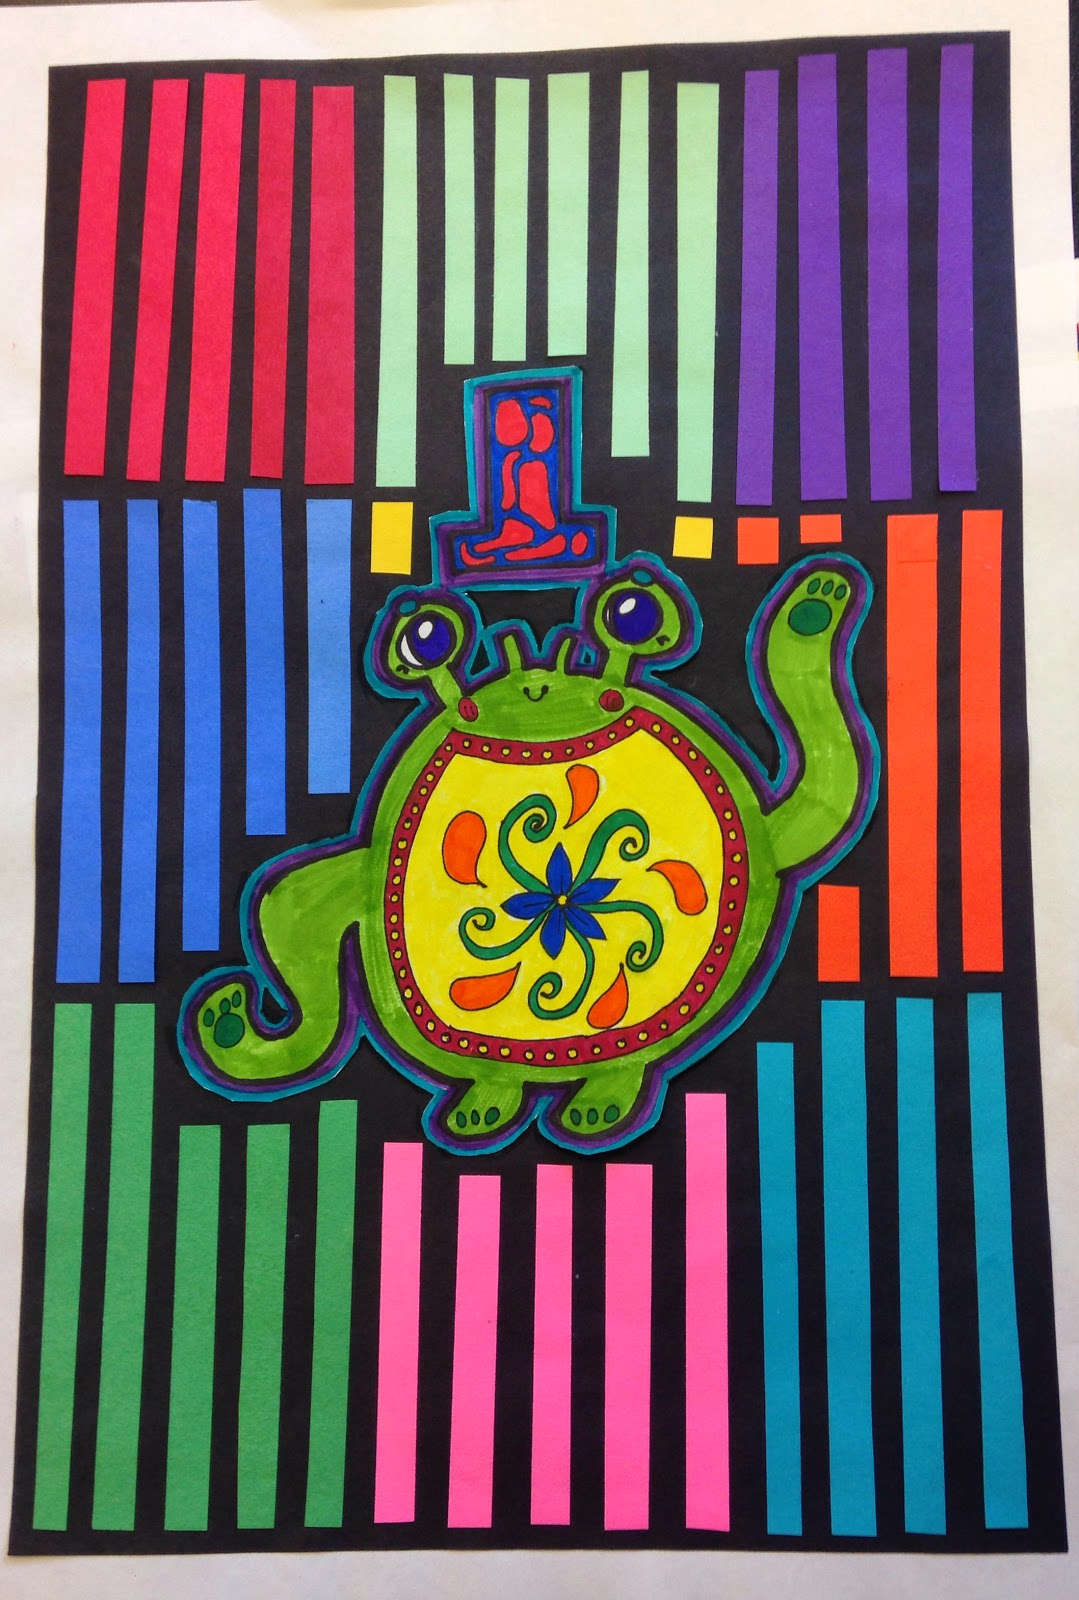
Paper Mola Design

We are continuing on with our multi-cultural unit.  We have headed south to Panama and the beautiful Mola artwork of the Kuna people.

I got this lesson out of a book I purchased this summer called, Dynamic Art a Projects for Children by Denise Logan.  It is a great book with step by step instructions, handouts, and student examples.

To begin the lesson, I used a power point to provide background information on Molas and the Kuna people.  Molas originated as a form of body painting which evolved into a textile art.

The process...

1.  On 12x18 paper students drew an animal, flower, or some other subject for the focus of the design.
They were asked to focus on the outline and fill in the center with geometric shapes.
Then they outlined their design twice.

2.  When the drawing was complete they colored it brightly with markers and crayons.

3.  Then they cut it out and glued it to a 12x18 piece of black paper.

4.  For the background they glued  1/2" strips of colored construction paper.  I cut these with the paper cutter and finally used that box of scrap paper up.


Thursday, November 6, 2014

Sugar Skull Mask


Here are some of our Day of the Dead 3d masks made out of Paper Mâché.
We used a plastic face mold to shape each mask.  The goop was a mixture of elmers art paste and watery elmers glue.  The ratio was about 3:1.  Elmers art paset alone does not harden up or make for a strong mask.  Students were asked to do four layers of mâché (2 with newspaper, two with white construction paper). We did the mache on a Friday and the masks were dry on Monday. When dry they were painted with white tempera and decorated with watercolor and of course, GLITTER!


Thursday, October 30, 2014

Day of the Dead Skull Design

October 31

We are plunging in to some multi cultural lessons now that we are done with our unit of study on the elements of art.  My intention is to create lessons that connect  to the  cultural backgrounds of my students (Mexico, Vietnam, Africa, India).  I decided to start with Mexico because it is Day of the Dead season.  There is a large Mexican American population at my school  and several students were willing to share their families traditions.  

To start this lesson off, I shared a you tube video to provide some additional background info on the holiday.  We saw some good pictures of authentic ofrendas with pan de muerto, marigolds, sugar skulls, and pictures of loved ones.  Students got a sense of how the holiday is celebrated in Mexico.  Some meaningful conversations came up in small groups as students talked about people they knew that had passed on.

First, students sketched skulls in their skettchbooks.  I provided several handouts to help guide them. Then they drew a large skull on drawing paper and decorated it in the style of  a sugar skull.  Again, I provided handouts to help inspire.  I encouraged them to use their imagination and be original.  They outlined their designs in sharpie and then painted them with water color.  Finally, they added glitter highlights, cut it out, and glued it on to a black and white patterned paper.

I love the subtle expressions in every skull.